Last time, in part 2 of this series, we covered Steps 1-3 of the 5 steps, which discussed styling, headers and footers, and pagination. This followed on from part 1, in which we looked at some initial considerations when preparing a manuscript for Kindle. Today, we’ll be covering Steps 4-5, which discuss more layout issues, creating a Kindle table of contents, and some final considerations.
Step 4: Fix Layout Issues
Bulleted Lists: a Kindle Oddity
Kindle sometimes has problems with bulleted lists. If you find, when previewing your book, that your bulleted lists are not formatted correctly (usually as a result of fully justifying the text, which leads to spacing issues), change the list to standard paragraphs, perhaps beginning each paragraph with a hyphen or other character.
Fixed-Page-Size Formatting
As mentioned in Part 1 of this article, you may have pages with text deliberately spaced to fit near the top and bottom of a page, which is commonly found on title pages. Amazon advises centering the title, subtitle (if any), and author name at the top of page, as follows:

Replace “Typewriter” Formatting with Word Formatting
If you’ve done either of the following, you will need to use Word’s in-built paragraph formatting functionality.
Used Tabs or Multiple Spaces to create indents, etc. – if you’ve used Tabs or multiple Spaces to indent the first line of your paragraphs, or to move text to a specific position on the page, you will need to remove them and use Word’s paragraph formatting functionality instead.
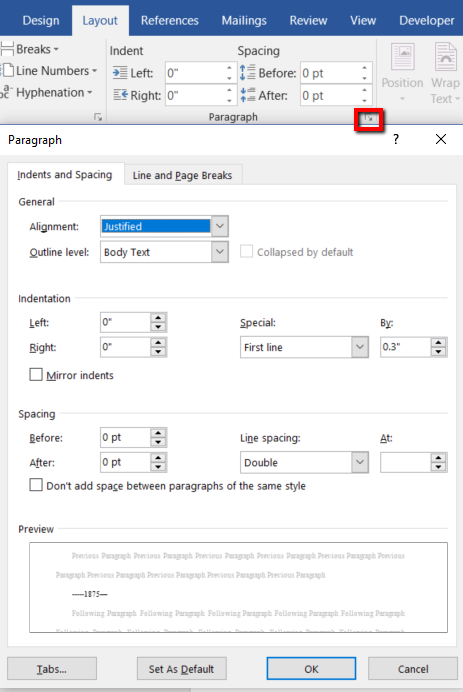
To do this, click on the Layout menu and either use the Indents and Spacing options, or click on the arrow in the bottom right corner to bring up the full formatting dialog box:
Used carriage returns to add spacing between content – unless you simply need one blank line between paragraphs, remove the extraneous carriage returns and use the Spacing: Before/After options to add the required spacing.
Step 5: Create the Table of Contents
The final essential step is to create your Table of Contents (ToC), which you will do in 3 easy parts. Kindle books are required to have a Table of Contents.
Bookmark Each Section/Chapter that Will Appear in the ToC
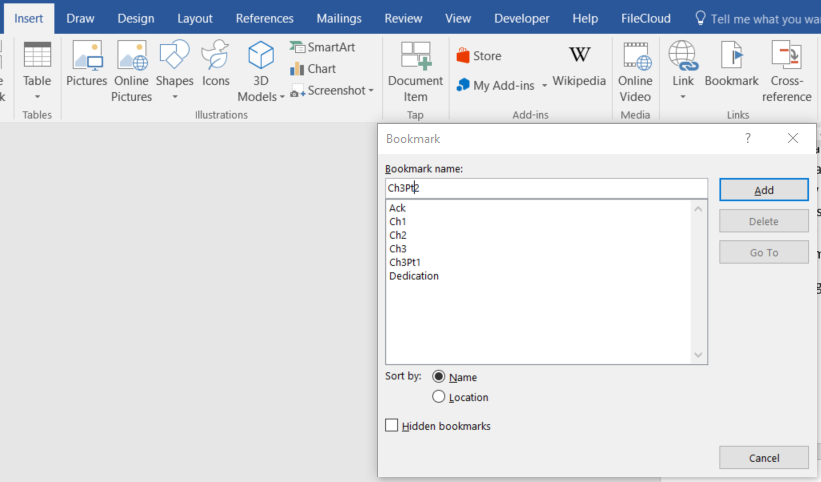
Place the cursor at the beginning of each Chapter or Section heading and click on the Insert > Bookmark menu option (which appears within the Links group. You will then have to enter a name for the bookmark and click the Add button. If you are using numbered chapters, you can use “Ch1,” “Ch2,” etc. or a shortened form of the Chapter title. You cannot use spaces in the bookmark name.
TIP: You will also need to bookmark the heading of the ToC page itself, and give it the name “TOC.” This enables Amazon to locate the ToC page so that the Kindle device or app can reference it.
Enter the Title of Each Item on your ToC Page
Enter each heading that needs to appear in your ToC on a separate line. These should be the same as would appear in a printed ToC, without the page numbers. If you have a hierarchical ToC, you can indent as needed too (see below).
Link Each Item in your ToC to the Appropriate Bookmark
For each item in the Toc:
- Highlight the text that you want to turn into a link.
- Click on the main Insert menu item and then the Link icon within the Links group. Note: Click on the icon, not the down arrow.
- If it is not already seleted, click on the Place in This Document option on the left of the pop-up screen.
- Within the Bookmarks section, locate and click on the bookmark that you want to link to.
- Click the OK button, which will create the actual link within you document.
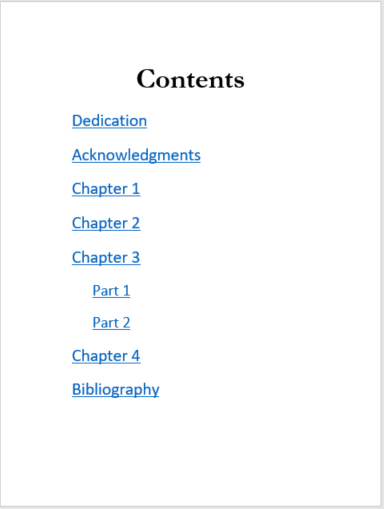
After following these steps, your ToC should look like this:
To Finish
Adding Hyperlinks
As a finishing touch, you may also want to create hyperlinks from your Kindle book to web pages referenced in your manuscript, such as your web site, social media pages (Facebook, Twitter, etc.), web pages referenced in your Bibliography/References section, etc. These can be created using the Link option within the Links group under Word’s Insert menu:

Saving & Previewing
Once you have completed the reformatting of your document, use the Save As functionality to save it as “Web Page, Filtered.” This will save the document with a .html extension rather than .doc or .docx. If you happen to be familiar with HTML, you can then edit this file directly to “fine tune” the coding.
Finally, download and install Amazon’s Kindle Previewer software. You can use this to import the HTML file you just created, which will then be converted to Kindle format. This enables you to preview your book as it would appear on a variety of devices. It is the HTML file that you upload to Amazon’s Kindle Direct Publishing (KDP) to create your ebook.
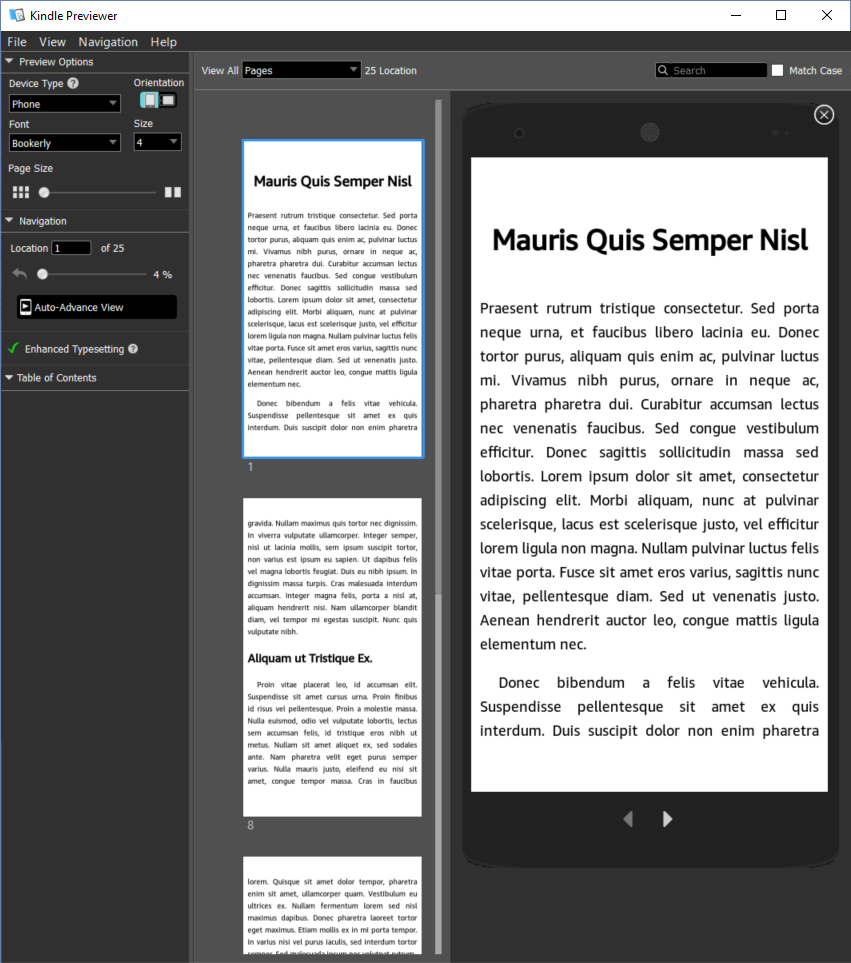
There is something truly satisfying when you finally see your book as it’s going to look on people’s phones, tablets, and Kindle devices. It’s also fun to play around with the different options, such as orientation, font face, font size, etc.
The Future? Kindle Create
Amazon has released a new software tool called “Kindle Create,” which is available both as standalone software and as an add-on for Microsoft Word. Its intent is to make this entire process easier. However, when I downloaded it for a test run, its functionality was very limited. It may be a great tool eventually but, for right now, I don’t think it’s quite up to the task. However, if you’re technically-minded and like tinkering with new software, it’s definitely worth looking at.